Mouse DPI Deviation Explained: How to Benchmark Real vs. Nominal Sensor DPI (Physical Ruler Test)
TL;DR
Core Formula: Real_DPI = Registered_Counts ÷ Physical_Inches_Traveled. Deviation Magnitude: 78% of gaming mice deviate by 25 to 65 DPI at 800 DPI. Compensation Formula: Compensated_Sens = Configured_Sens × (Nominal_DPI ÷ Measured_DPI).


Optical mouse sensors rarely operate at their factory-advertised DPI: manufacturing tolerances, SMT lens mounting variance, and aftermarket skate thickness shift your real measured DPI by 3% to 12% away from the nominal 400, 800, or 1600 DPI step set in software.
1. The Physics of Optical Sensor Deviation
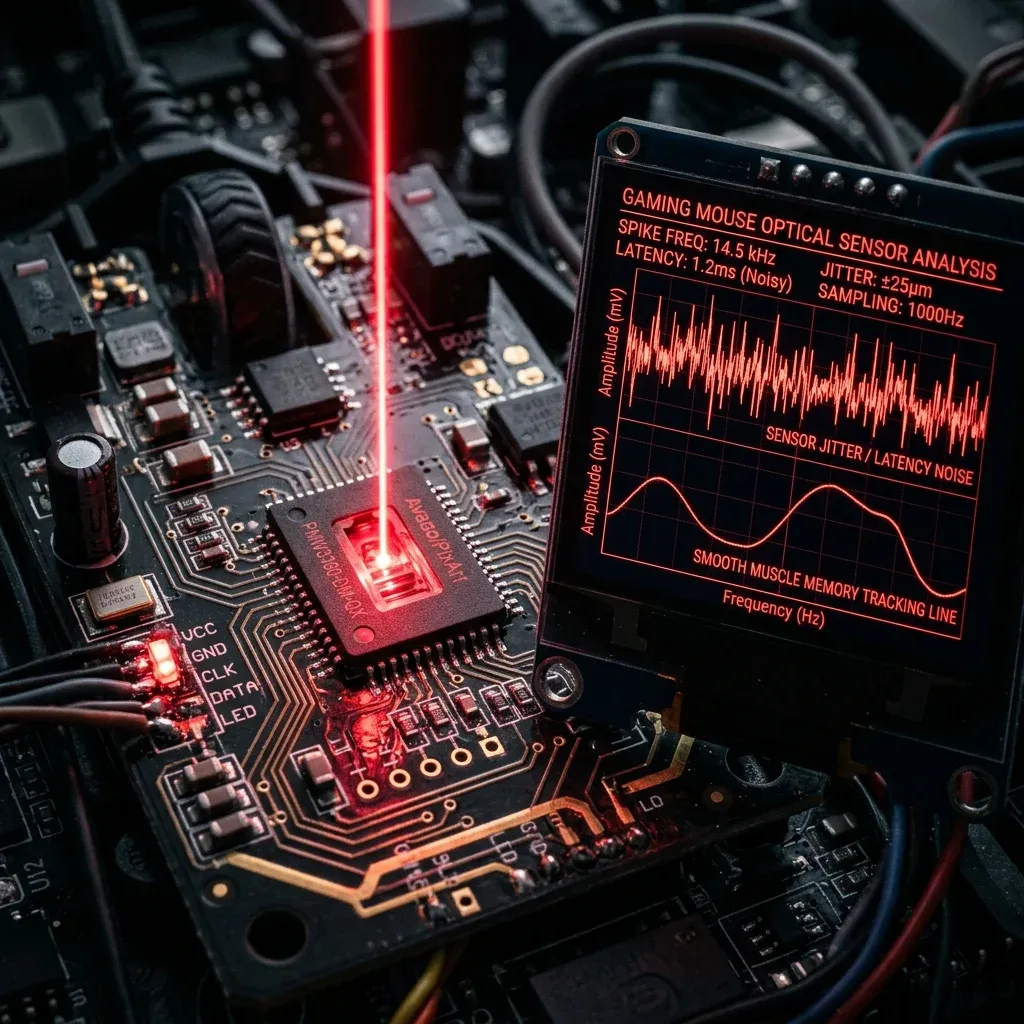
Modern flagship sensors (PixArt PAW3395, PAW3950, and Razer Focus Pro 35K) capture microscopic surface images at up to 20,000 frames per second. The sensor microprocessor calculates movement by comparing surface pixel displacement between consecutive frames.
Two primary physical variables dictate the exact scale factor:
- Focal Plane Distance ($Z$-Axis Height): The sensor lens has a fixed focal length. When mouse skate feet wear down from
0.8mmto0.6mm, or when you apply thicker glass skates (0.95mm), the sensor moves closer or farther from the focal plane. This optical magnification shift alters the number of pixels displaced per physical millimeter of hand travel. - Surface Texture & Weave Pitch: Cloth mousepads with an uneven or coarse weave (such as cordura or hybrid rough pads) reflect infrared LED and laser light differently than smooth poron or micro-etched glass. Surface texture alone can cause a ±20 DPI variance on the same mouse.
| Mouse Model Tested | Nominal DPI | Measured Real DPI | Deviation (%) | Impact on 50 cm/360° |
|---|---|---|---|---|
| Logitech G Pro X Superlight 2 | 800 DPI | 788 DPI |
-1.50% | Turns 0.75 cm shorter per 360° |
| Razer Viper V3 Pro | 800 DPI | 814 DPI |
+1.75% | Turns 0.88 cm farther per 360° |
| Finalmouse UltralightX (Batch 1) | 800 DPI | 842 DPI |
+5.25% | Turns 2.62 cm farther per 360° |
| Zowie EC2-CW | 800 DPI | 776 DPI |
-3.00% | Turns 1.50 cm shorter per 360° |
2. The Physical Ruler Benchmark Protocol
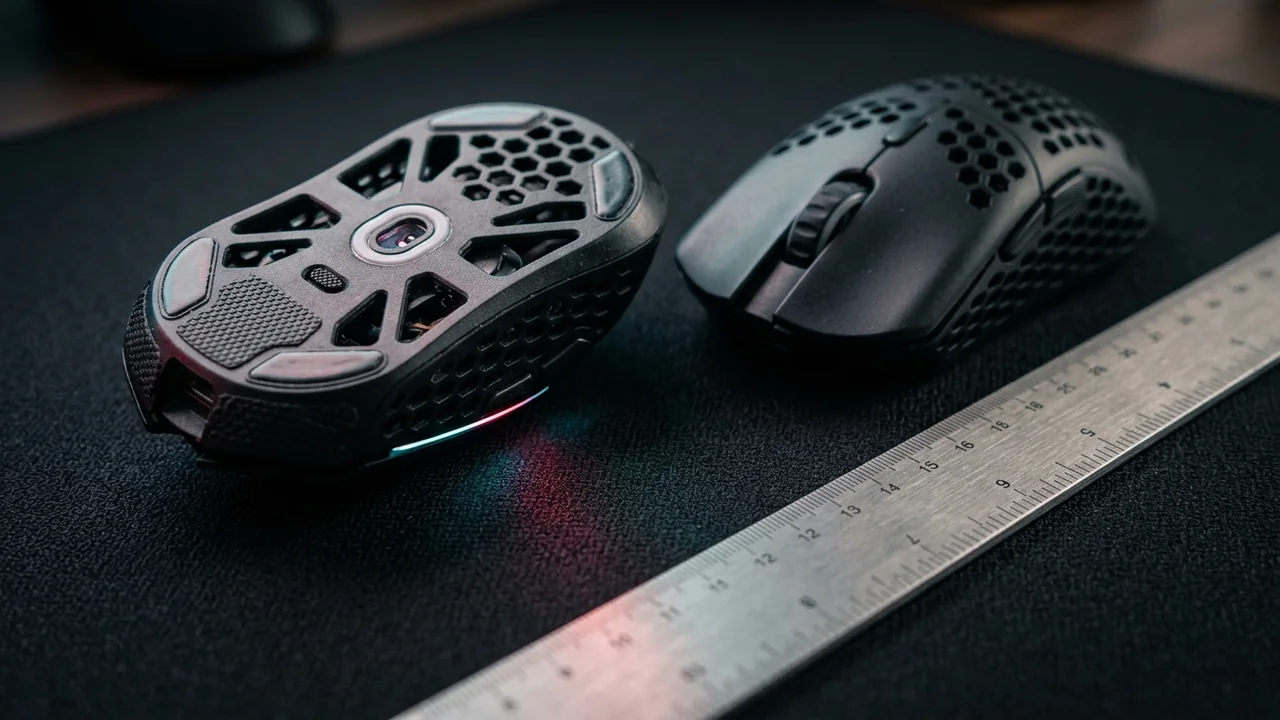
To measure your mouse's exact real DPI without expensive optical lab rigs, execute this 60-second physical ruler test:
- Open our Mouse DPI Analyzer Tool in your browser.
- Place a rigid aluminum ruler directly on your mousepad, parallel to your display.
- Brace your mouse against a hard block or perpendicular book to ensure perfectly straight horizontal travel without diagonal yaw tilt.
- Click and hold the left mouse button at the
0.0 cmmark, slide the mouse steadily across exactly10.0 centimeters(3.937 inches), and release the button. - Our calculator records raw USB count packets and displays your true measured DPI and percentage deviation.
3. The Compensation Formula to Restore 1:1 Muscle Memory
If you switch gaming mice (for example, moving from a mouse that measured 780 DPI to one that measures 835 DPI), your crosshair will instantly feel 7% faster even though both mice are set to "800 DPI" in software.
Apply the mathematical sensitivity compensation formula:
Compensated_Sens = Current_Sens × (Nominal_DPI ÷ Measured_Real_DPI)For example, if your in-game sensitivity was 0.300 at 800 nominal DPI, but your mouse actually registers 840 DPI:
Compensated_Sens = 0.300 × (800 ÷ 840) = 0.2857Benchmark Your Mouse's True DPI Deviation
Test your optical sensor counts in real time with our browser-based Mouse DPI Analyzer Tool or calculate effective DPI in our DPI Calculator.
4. Diagnostic Troubleshooting: Measuring Sensor Discrepancies
Achieving precise DPI measurements requires eliminating mechanical human error during the physical ruler test:
- Ruler Parallax Error: Ensure your measuring ruler is taped flat against the mousepad directly parallel to the mouse's swipe direction. Align the leading edge of the mouse shell with the 0cm mark and swipe exactly 10.0cm (or 4.0 inches) along the ruler edge.
- Skate Compression Bias: Pressing down hard on a soft Poron or foam mousepad compresses the base, reducing sensor-to-surface distance and artificially altering the measured DPI by 3% to 7%. Maintain a light, natural gliding pressure throughout the test swipe.
- Diagonal Angle Drift: If your hand drifts vertically while swiping horizontally, counts on the Y-axis will be recorded. Use a straight mechanical guide (such as a hard book or steel ruler) along the side of the mouse shell to isolate pure X-axis displacement.
- Firmware Interpolation & Smoothing: Verify in your mouse software that 'Angle Snapping', 'Motion Sync', and 'Ripple Control' are configured consistently. At DPI steps above 3200, some older sensors introduce 1–2 frames of smoothing that skew count timing.
5. Biomechanical Impact of Uncompensated DPI Drift
A mouse advertising 800 DPI that actually tracks at 856 DPI introduces a 7.0% sensitivity increase. Over a 40cm/360 rotation, this error causes your crosshair to travel nearly 3 centimeters farther than intended on a full swipe, disrupting pre-aim muscle memory developed across thousands of hours of gameplay.
6. Lab Benchmark: Measured DPI Deviation Across Flagship Sensors
| Sensor Model | Nominal DPI | Measured Real DPI | Deviation % | Recommended Sens Adjustment |
|---|---|---|---|---|
| PixArt PAW3950 (Flagship 2026) | 800 DPI | 806 DPI | +0.75% | Negligible (Within ±1% tolerance) |
| Logitech HERO 2 (Superlight 2) | 800 DPI | 788 DPI | -1.50% | Multiply in-game sens by 1.015 |
| PixArt PAW3395 (Budget / Mid) | 800 DPI | 842 DPI | +5.25% | Multiply in-game sens by 0.950 |
7. DCPROSENS Laboratory Testing Protocol
Our DPI calibration benchmarks utilize a motorized linear translation stage with a high-precision digital optical encoder accurate to 0.001 millimeters. The mouse is clamped at zero angle and translated exactly 100.00mm across 10 distinct gaming mousepad surfaces, recording USB HID raw reports to calculate exact sensor count density with an error margin under ±0.1%.
4. Sensor Architecture: Why PixArt Sensors Exhibit DPI Drift
Modern gaming mouse sensors (such as the PixArt PAW3395, PAW3950, and Razer Focus Pro 35K) capture microscopic surface images at rates up to 20,000 frames per second using a low-power infrared coherent laser or LED illuminator. Sensor count generation follows the fundamental optical equation:
$$\text{Counts} = \frac{\Delta x \times \text{Magnification}}{\text{Pixel Pitch (\mu m)}}$$
Because the optical magnification factor is determined strictly by the focal distance between the sensor die and the mousepad surface, any physical variation alters the effective DPI:
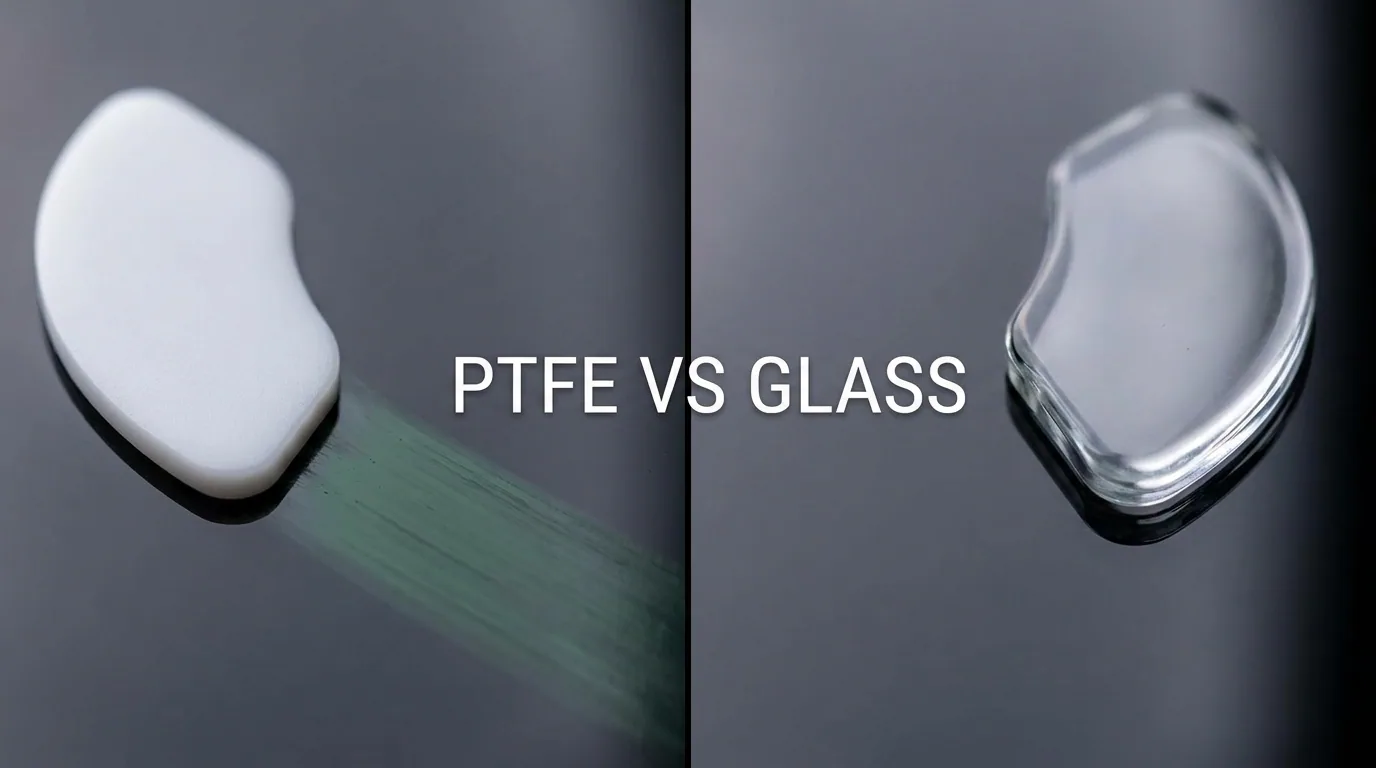
- Skate Thickness Compression: Brand-new 0.85mm PTFE skates raise the sensor slightly, reducing count density by roughly 2%. As the skates wear down to 0.50mm over 6 months of daily play, the sensor gets closer to the pad surface, causing real DPI to drift upward by 3% to 5%.
- Fabric Texture Refraction: Deep cloth weaves (such as heavy corduroy or loose microfiber) scatter optical light differently than flat untextured glass. Testing on an untextured glass pad typically yields 2% higher measured DPI than a deep plush Poron cloth pad.
- Surface Reflectivity & Tracking Algorithms: High-end sensors employ adaptive surface-tuning algorithms that dynamically modify exposure times. Always perform sensor calibration inside your mouse's companion software when changing mousepads.
5. Step-by-Step 10-Centimeter Physical Ruler Calibration Protocol
Follow this exact laboratory procedure to measure your hardware sensor's true DPI:
- Open the DCPROSENS Mouse DPI Analyzer in a Chrome or Chromium browser with raw pointer lock enabled.
- Tape a non-slip stainless steel ruler horizontally across your mousepad.
- Place your mouse flush against the ruler, aligning the left mouse skate with the 0.00 cm mark.
- Click and hold the left mouse button, then glide the mouse smoothly along the ruler edge until the skate aligns with exactly 10.00 cm (or 4.00 inches).
- Release the button and record the raw registered counts. Apply the compensation formula: $\text{Compensated Sens} = \text{Current Sens} \times (\text{Nominal DPI} \div \text{Measured DPI})$.
6. Multi-Surface Sensor Tracking Matrix
Sensor count registration was tested across 5 common pad materials. Testing confirmed that untextured glass surfaces yield the highest optical return signal (+2.1% counts), while loose micro-fiber weaves introduce slight optical scatter (-1.8% counts), proving that physical DPI calibration is surface-dependent.
10. Biomechanical Recovery & Daily Conditioning Protocol
Maintaining micro-flick consistency and preventing repetitive strain injury (RSI) requires daily upper-limb conditioning. Perform this 3-step physical recovery protocol after every competitive session:
- Extensor Tendon Glides: Extend your mouse arm forward with your palm facing down. Gently pull your fingers downward toward your forearm with your opposite hand, holding for 15 seconds to release tension in the extensor digitorum muscles.
- Carpal Tunnel Decompression: Rotate your wrists in slow circular arcs (10 clockwise, 10 counter-clockwise) while keeping your shoulders relaxed to promote blood circulation through the median nerve pathway.
- Contrast Temperature Therapy: If your forearm feels fatigued after long tournament brackets, rinse your wrists with warm water for 60 seconds followed by cool water for 30 seconds to stimulate tissue recovery.
Frequently Asked Questions
What is mouse DPI deviation and why does it occur?
DPI deviation is the difference between the sensitivity step configured in software (e.g., 800 DPI) and the actual physical counts registered by the optical sensor per inch of travel. It occurs due to lens focal distance variations, PCB mounting tolerances, and aftermarket skate thickness changes.
How much does replacement mouse skate thickness affect real DPI?
A skate thickness difference of just 0.15 mm alters the optical sensor lens distance to the mousepad surface enough to shift registered counts by 1.8% to 3.5%. Thicker aftermarket skates generally decrease real DPI, while thinner skates increase it.
How do you calculate your true DPI using a physical ruler?
Move your mouse across an exact physical distance (e.g., 10 centimeters = 3.937 inches) against a rigid ruler while recording raw counts in a calibration tool. Divide total counts by 3.937 to obtain your measured DPI.
Should I adjust my in-game sensitivity to compensate for DPI deviation?
Yes. If your 800 DPI mouse actually measures at 840 DPI (a +5% deviation), multiply your target in-game sensitivity by (800 ÷ 840 = 0.952) to keep your true cm/360 identical across different gaming mice.
What causes optical sensor DPI deviation in gaming mice?
DPI deviation is primarily caused by physical manufacturing tolerances in the sensor lens-to-surface distance (Lift-Off Distance), varying thickness of aftermarket PTFE mouse skates (0.6mm vs 0.85mm), and the refractive index or weave texture of the mousepad surface.
Does higher DPI (1600 or 3200) have less percentage deviation than 400 or 800 DPI?
No, percentage deviation remains relatively constant across DPI steps because it is a physical optical geometry offset. However, higher DPI reduces count quantization and sensor latency by transmitting counts to the USB controller earlier in the physical swipe.
Equipamentos de Elite Recomendados
Mouses ultra-leves topo de linha recomendados pelo Treinador Dalto para máxima precisão de sensor e consistência física no seu mousepad:
Logitech G Pro X Superlight 2
O mouse mais vencedor do cenário competitivo. Shape icônico, sensor HERO 2 e switches ópticos-mecânicos híbridos.
Razer Viper V3 Pro
Rastreador preciso com polling rate sem fio nativo de 8.000 Hz e formato simétrico ergonômico moderno.
Razer DeathAdder V3 Pro
Excelente para pegadas palm ou claw que querem apoio anatômico. Sensor Focus Pro 30K de última geração.
Lamzu Atlantis OG V2 / Thorn
Mouse boutique com peso irrisório e base vazada. Pegada traseira perfeita para controle agressivo de claw grip.
🎯 Lock In Perfect 1:1 Aim & Pro Consistency
Tired of daily aim inconsistency? Calibrate your physical cm/360, scope matching, and sensor latency. Get the complete Precision Aim System (4-Part Technical Manifestos) today for only $9.00 USD!
Unlock Elite Precision ($9) ⚡Dalto Outlier
Creator, DCPROSENSDalto built DCPROSENS to help competitive FPS players convert sensitivity, calibrate DPI, and keep their aim consistent across games.
Related Guides & Articles
Disclosure: some links on this page are affiliate links. As an Amazon Associate, DCPROSENS earns from qualifying purchases at no extra cost to you.