Valorant Crosshair Placement Guide
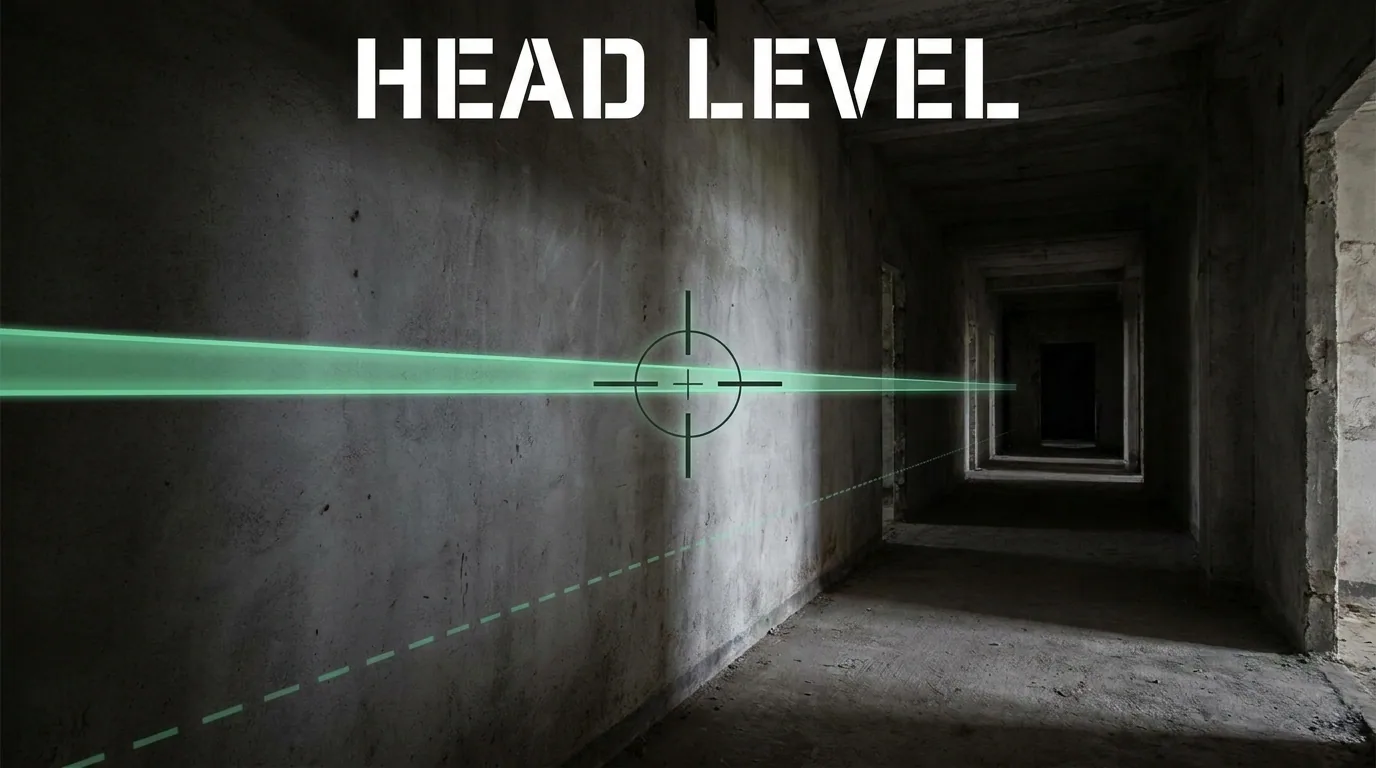


Why Crosshair Placement Beats Flicking
The biggest misconception in Valorant is that climbing requires insane reaction times and inhuman flicks. The reality? Over 70% of kills in Immortal/Radiant lobbies require zero mouse movement. Their crosshair was already exactly where the enemy's head appeared.
Good crosshair placement eliminates the need to react and flick. Instead of "see enemy $ ightarrow$ move mouse $ ightarrow$ click," the process becomes "see enemy walk into crosshair $ ightarrow$ click." This saves ~200ms of reaction and movement time—an eternity in a low-TTK game like Valorant.
The Three Pillars of Crosshair Placement
1. Head Level Alignment
Keeping your crosshair at head height seems obvious, but most players slowly drift down to chest level while moving. Valorant's map designers include visual cues—like the horizontal lines on the boxes in Ascent, or the seam in the brickwork on Haven—that perfectly align with player head height. Use these environmental cues to calibrate your vertical axis constantly.
2. Clearing Angles (Slicing the Pie)
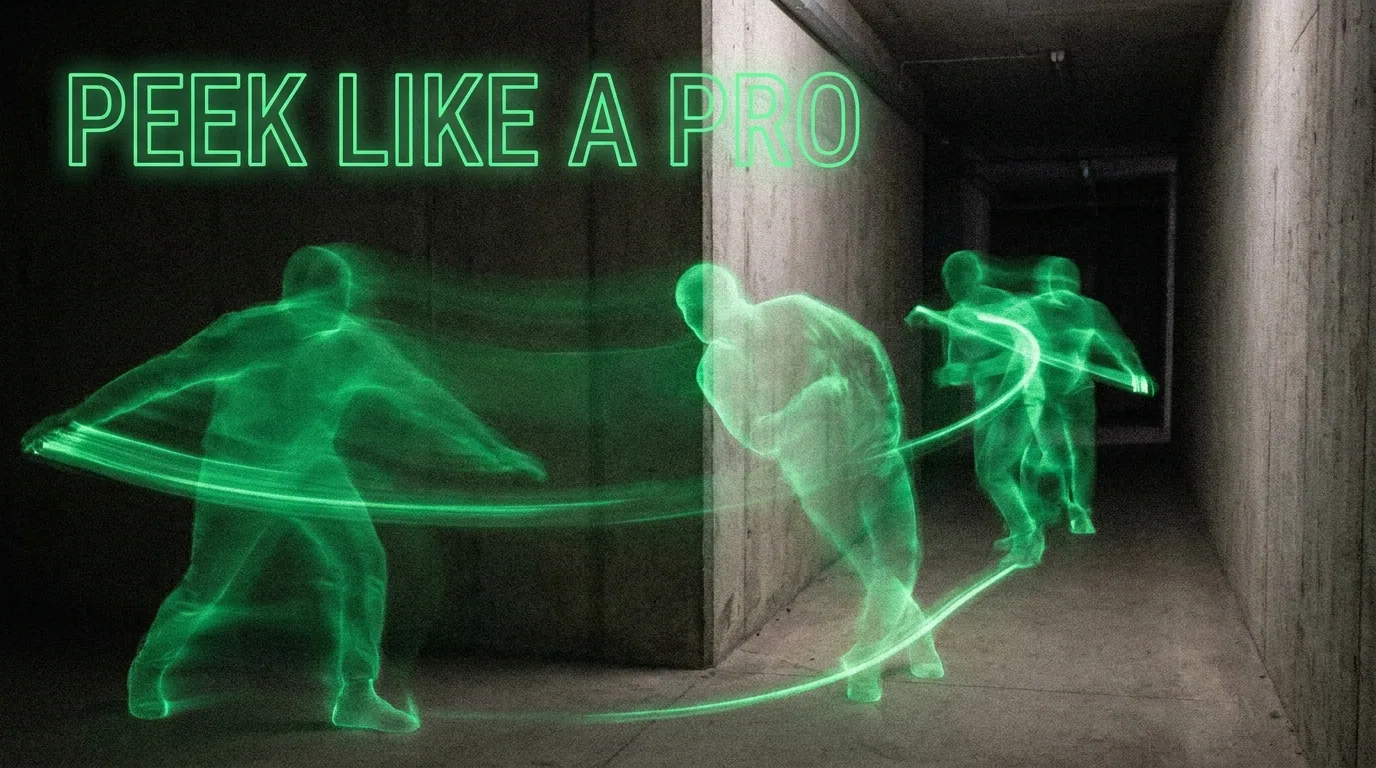
Never expose yourself to multiple angles at once. Move your crosshair along the edge of the wall you are peeking, moving step by step. Every time you clear an angle, your crosshair should snap immediately to where the next enemy's head could be before you step out further.
3. Anticipating Enemy Distance from Corner
This is where Ascendant players separate from Diamond players:
- If you expect the enemy to walk/hold shift: Keep your crosshair tight to the corner.
- If you expect the enemy to wide swing/run: Give your crosshair some space away from the corner to account for your reaction time.
Pre-Aiming vs. Tracking
Pre-aiming means aiming through a wall at a specific spot, so when you strafe out, your crosshair is already on target. This is critical for peeking Operators or known defensive positions (like Ascent A Heaven). Use your radar and map knowledge to position your crosshair horizontally before you press your A or D key to peek.
How to Practice Crosshair Placement
The best practice is Deathmatch, but with a specific rule: you are only allowed to shoot if you don't have to move your mouse horizontally. If you have to flick, you made a placement error. Focus entirely on moving your character to align your crosshair, rather than moving your mouse. Ensure your sensitivity is properly calibrated using our eDPI calculator so your micro-adjustments are smooth.
Mathematical Mechanics & Engine Formulas
Understanding aim physics requires breaking down how rendering engines calculate rotation vectors. In 3D space, mouse movement inputs map to angular rotation per count based on the game engine's specific yaw constant:
• CS2 / Source Engine Yaw Constant: 0.022° per count
• Apex Legends Yaw Constant: 0.022° per count
• Overwatch 2 Yaw Constant: 0.0066° per count
• Fortnite Yaw Constant: 0.005555° per count
• Formula: eDPI = Hardware DPI × In-Game Sensitivity
• Formula: cm/360 = (360 × 2.54) / (DPI × Sensitivity × Yaw)
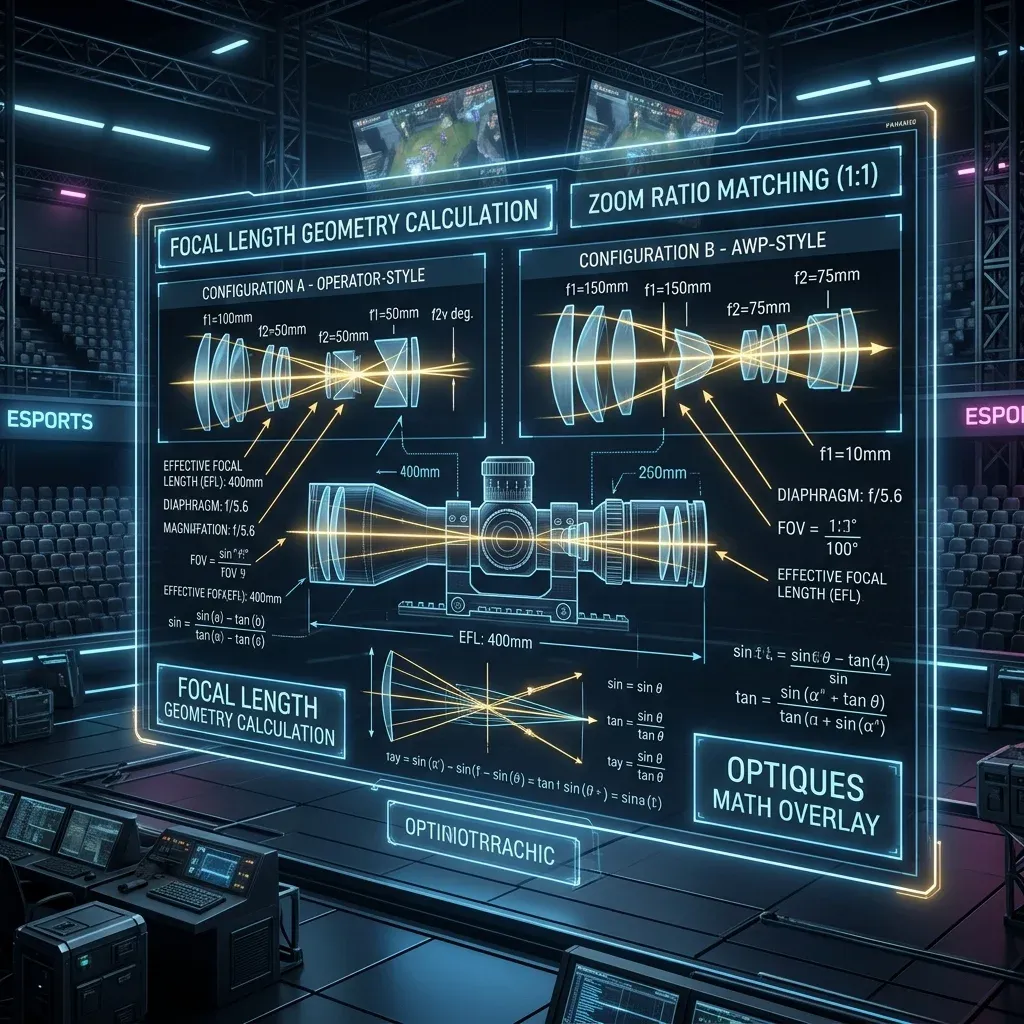
By keeping your physical centimeters per 360 rotation (cm/360) consistent, you maintain identical physical hand travel across titles. However, when switching between different aspect ratios (16:9 vs 4:3 stretched) or vertical FOVs, you must apply 0% Monitor Distance Matching (Focal Length Scaling) to match optical tracking speed at screen center.
Esports Meta & Pro Player Benchmark Data
Looking at publicly available pro settings and general esports sensitivity trends:
- Tactical Shooters (Valorant / CS2): The median pro eDPI sits between 200 and 320 eDPI (approx. 40cm/360 to 65cm/360). Pro players prefer lower sensitivity to maximize micro-correction accuracy and first-bullet headshot precision.
- Tracking & Dynamic Shooters (Apex / OW2 / Fortnite): The median pro eDPI ranges from 2400 to 4800 eDPI in Source/OW2 terms (approx. 28cm/360 to 38cm/360). Higher sensitivity allows rapid 180° sweeps and smooth target tracking during erratic movement.
Step-by-Step Calibration & Actionable Implementation
- Disable Windows Mouse Acceleration: Open Windows Control Panel → Mouse Properties → Pointer Options → Uncheck "Enhance Pointer Precision". This ensures 1:1 raw input without non-linear velocity scaling.
- Set Native Mouse DPI: Use 800 or 1600 DPI on modern optical sensors (PMW3395 / HERO 25K) to minimize sensor input latency by up to 2.5ms compared to 400 DPI while avoiding sensor smoothing.
- Calibrate Desk Space: Ensure your mousepad offers at least 450mm × 400mm of dynamic space. Your cm/360 should allow a full 180° turn from center to pad edge without lifting.
- Verify in Aim Trainers: Benchmark your target acquisition in KovaaK's or Aim Lab (Gridshot / Microflex) for 15 minutes to confirm zero overshoot or undershoot before entering ranked queues.
Frequently Asked Questions (FAQ)
Is higher DPI always better for aim?
Higher DPI (such as 1600 DPI) reduces input latency because the sensor sends motion packets more frequently per millimeter. However, going above 3200 DPI can introduce unwanted sensor noise or smoothing on certain optical sensors.
Should I match my hipfire sensitivity to my ADS sensitivity?
Yes! Utilizing 1:1 focal matching (0.847 in Valorant, 1.0 in CS2/Apex) aligns your focal muscle memory between hipfire aiming and scoped targeting.
Frequently Asked Questions
What is the correct crosshair height in Valorant?
Head level for the distance you are about to clear, not head level where you are standing. On a long angle your crosshair should sit slightly lower than it feels natural, because a distant enemy's head occupies a smaller and lower portion of your screen. The common mistake is placing at head height for a close-range fight and then holding a long angle with the same aim.
Should I pre-aim the wall or the open angle?
Pre-aim the pixel the enemy's head will first appear on, which is usually a hand's width off the corner rather than on the corner itself. Sitting exactly on the wall edge means you have to correct outward as they appear; sitting slightly off means their head walks into your crosshair.
How long does crosshair placement take to become automatic?
Two to three weeks of deliberate practice for most players. The reliable drill is to walk a map you know with no enemies and consciously reset your crosshair to head height after every corner. It feels tedious because it is — the point is to move the behaviour out of conscious attention so it survives the moment you are actually under pressure.
Dalto Outlier
Creator, DCPROSENSDalto built DCPROSENS to help competitive FPS players convert sensitivity, calibrate DPI, and keep their aim consistent across games.
Related Guides & Articles
Disclosure: some links on this page are affiliate links. As an Amazon Associate, DCPROSENS earns from qualifying purchases at no extra cost to you.