Controller Deadzone: Reduce Drift Without Losing Fine Control
TL;DR
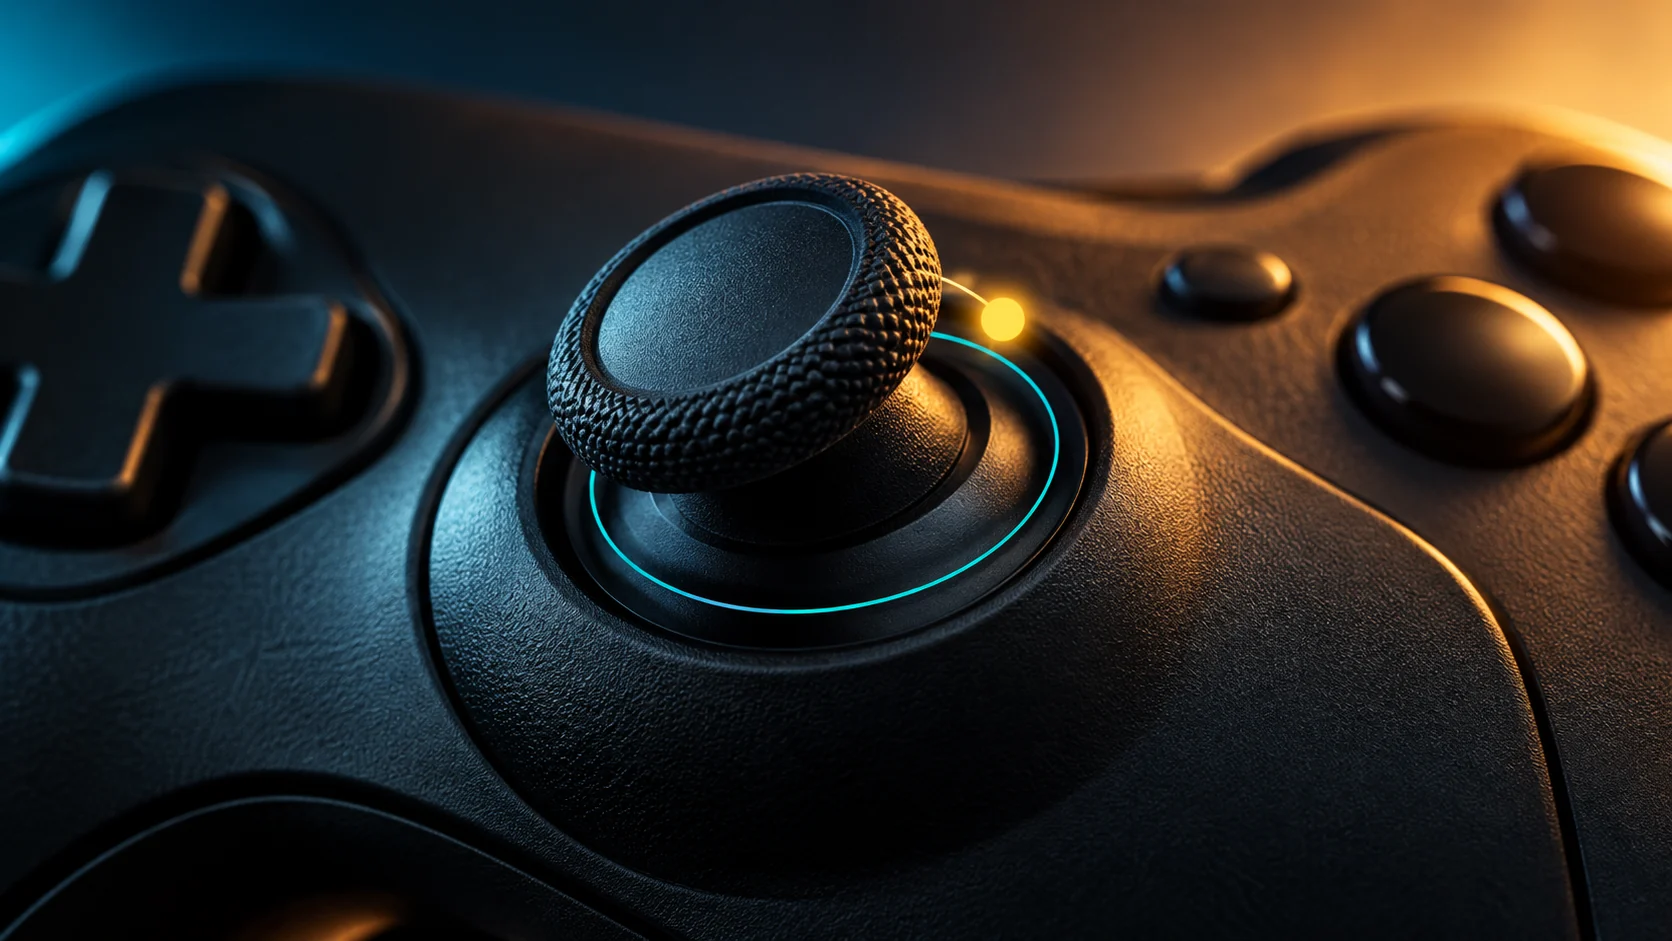
Start from the game's default, observe whether the camera moves with the stick untouched and adjust the relevant inner deadzone in small supported steps. Use the lowest setting that remains stable in your test while preserving comfortable small movements. Raising deadzone can mask drift; it does not repair worn hardware.


A controller that slowly turns the camera on its own is frustrating. So is a controller that ignores the first part of every small adjustment. Deadzone tuning sits between those two problems.
Do not copy a number before identifying which control it changes. Games can expose different scales, shapes and settings for the left and right sticks.
Know which deadzone you are changing
| Setting | General purpose | What to watch for |
|---|---|---|
| Inner stick deadzone | Ignores movement close to the neutral position | Too small may expose drift; too large can hide deliberate small input |
| Outer threshold or outer deadzone | Determines how far the stick moves before full input is reached | Naming and scale vary by game |
| Trigger deadzone | Controls when trigger input begins or reaches a threshold | Separate from camera-stick behavior |
| Response curve | Maps stick displacement to output response | Changes feel without being the same control as deadzone |
Microsoft's XInput guidance explains why applications filter small analog values and notes variation between controller units. Its example thresholds are developer implementation details, not numbers to copy into every game's slider.
Establish a clean starting point
Use a practice environment without combat pressure. Record the game, platform, controller model and any supported calibration or input layer in use.
Begin with the game's default or your saved baseline. Keep sensitivity and response curve fixed. If multiple applications can modify input, record which ones are active; overlapping transformations can make the result difficult to understand.
Make sure you are changing the right stick when investigating camera movement. Character movement normally points you toward the left stick or another input, not automatically the same setting.
Run the neutral-position test
- Place the controller on a stable surface and leave the sticks untouched.
- Observe the camera against a fixed reference for a short, repeatable interval, such as 20 seconds.
- Move the relevant stick in several directions and release it normally.
- Observe again after each release.
- If unintended movement is repeatable, increase the relevant inner deadzone by one supported step and repeat.
Twenty seconds is a convenient personal test interval, not a repair standard. Distinguish actual camera rotation from an animated weapon, environmental motion or camera sway.
If the camera remains stable at the baseline, you can compare a slightly smaller deadzone if you want finer initial response. Stop reducing it when instability appears, then restore a stable value.
Check deliberate small movement
A quiet camera is only half the test. Slowly move the stick and observe how much travel is needed before the camera begins responding.
Then make small corrections between two nearby reference points. Do they begin predictably? Does the view jump when input finally registers? Keep the sensitivity and curve unchanged so you are assessing the deadzone rather than several settings together.
Try the same task after releasing the stick from different directions. A setting that works in one resting position may not behave identically after every movement.
Decide whether tuning is enough
| Result | Next step |
|---|---|
| Stable neutral position and comfortable fine input | Save the setting and confirm in normal play |
| Small adjustment suppresses drift but control feels worse | Compare the trade-off rather than assuming higher is better |
| Large deadzone needed to suppress persistent drift | Consult the manufacturer's calibration or service guidance |
| Problem appears in only one game | Review that game's configuration and input layers |
| Problem appears across games and supported tests | Investigate the controller and its documented calibration options |
Use supported calibration procedures for your exact controller. A software threshold does not reverse physical wear, and this guide does not diagnose the hardware remotely.
Master Rotational Aim Assist & 1000Hz USB Overclocking
Learn the exact stick engagement thresholds for 0ms RAA lock-on, Dynamic curve response, and zero-drift calibration in The Controller Precision Guide.
Frequently Asked Questions
Is zero deadzone the best setting?
Only if the implementation and device remain stable and controllable. Zero is not a universal competitive requirement.
Does increasing deadzone repair stick drift?
No. It can filter out small unwanted values. The underlying hardware condition may remain.
Can I copy another game's deadzone percentage?
Not reliably. Scales, shapes and input processing differ. Test each game's behavior.
Does deadzone tuning create stronger aim assist?
Do not assume that. This workflow concerns stable input and fine control, not an aim-assist exploit or guaranteed advantage. Save your settings in a short note: game, stick, original value, new value, neutral-test result and small-correction result. For more setup topics, explore the <a href="https://dcprosens.com/blog/">DCPROSENS gaming guides</a>.
🎯 Lock In Perfect 1:1 Aim & Pro Consistency
Tired of daily aim inconsistency? Calibrate your physical cm/360, scope matching, and sensor latency. Get the complete Precision Aim System (4-Part Technical Manifestos) today for only $9.00 USD!
Unlock Elite Precision ($9) ⚡Dalto Outlier
Creator, DCPROSENSDalto built DCPROSENS to help competitive FPS players convert sensitivity, calibrate DPI, and keep their aim consistent across games.
Related Guides & Articles
Disclosure: some links on this page are affiliate links. As an Amazon Associate, DCPROSENS earns from qualifying purchases at no extra cost to you.